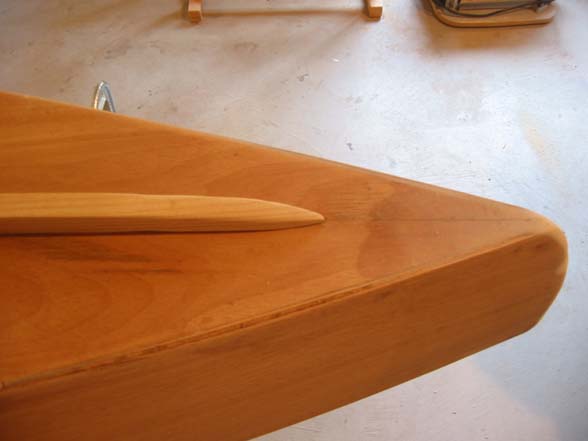
 | The boat is pretty short and I was worried about tracking, so I made a 1/2 x 1/2 inch strip of ask as a keel. Some sanding and a block plane gave me a nice taper at either end. I'll glue this to the hull later on. |
I want to add some hardware to the ends so I can attach a painter or some handles. This will require some reinforcement to the hull fore and aft. I had some 1/2 inch birch ply left over form another project, so I glued in a bit at either end. | 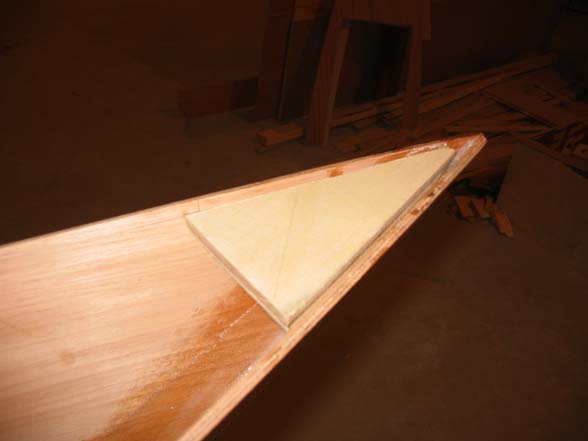 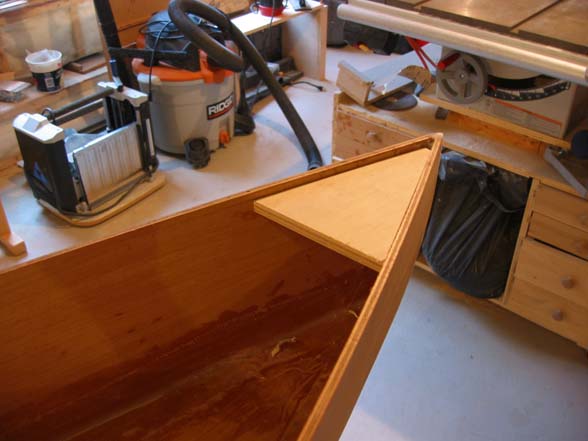 |
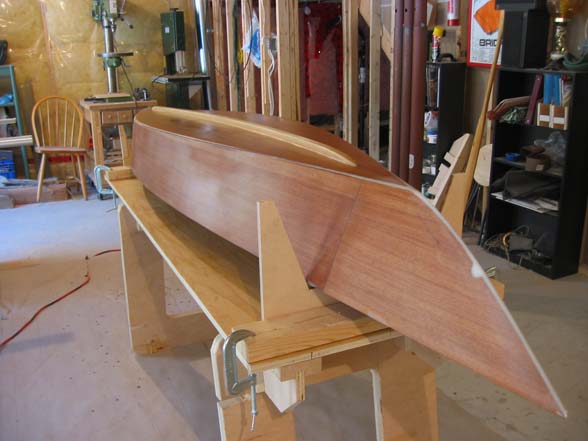
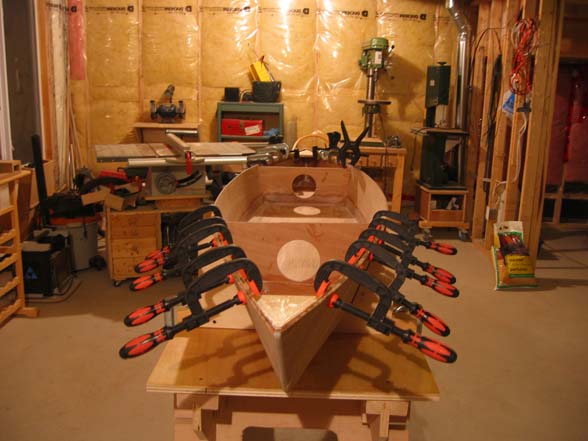 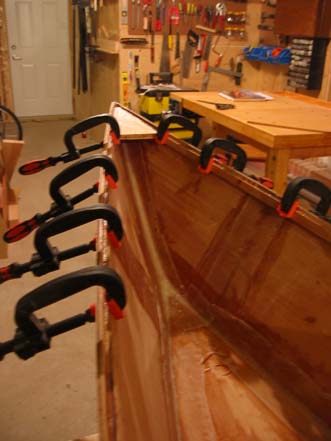 | The next step is to add a strip on each side of the hull in front of each bulk head. These strips will be used to secure the deck to the hull later on, so they must be 1/4 inch down on each side. I picked up some cheap clamps from Princess Auto for a couple of dollars each. They don't produce a lot of pressure, but that is okay for epoxy use. |
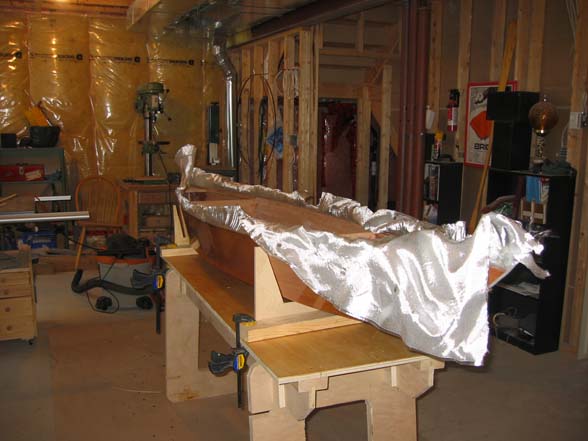
Its not required in the plans, but I wanted to add a layer of fiberglass cloth to protect the hull. Our rivers are pretty rocky and dragging the boat ashore is pretty common. Here I'm cutting the cloth a bit over sized. |  |
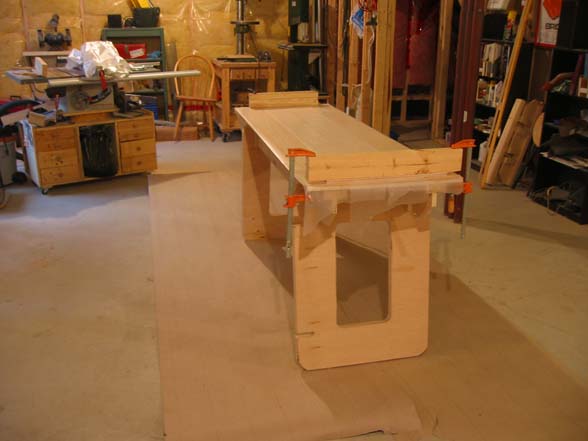 | To keep from gluing the boat to the table, I covered the entire thing with wax paper. Then I clamped a couple of 2x4s to raise the boat off the table. This kept the cloth from bunching up at the bottom. |
This is after the first coat of epoxy was added to the cloth. A foam mini roller did a nice job of applying the epoxy and I removed the excess with a squeegee, which resulted in much less sanding. | 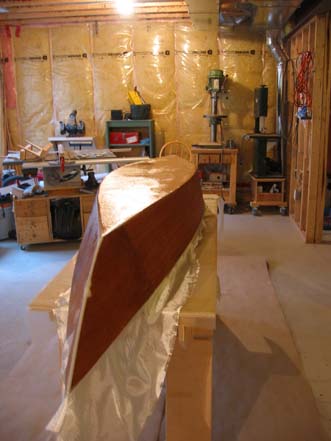 |
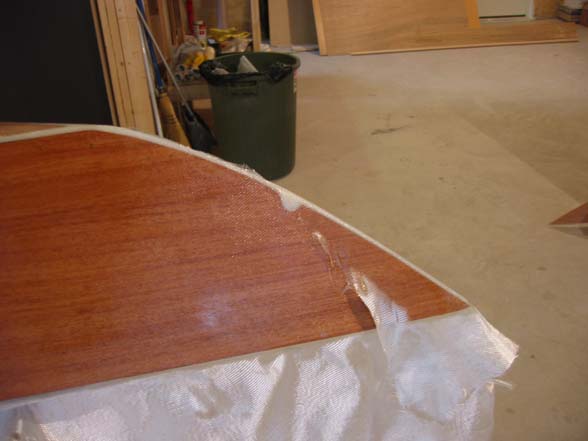 | The bow and stern took a bit of finessing. I ended up cutting a slit into the cloth and folding it over onto the hull. This has an added bonus of doubling up the cloth on the most vulnerable part. |
Once the epoxy was hard, and before a second coat, I decided to add the keel. To hold it down while the thickened glue hardened, I used a bunch of weights and some fiberglass tape. Fiberglass tape is great stuff. Its basically thick plastic tape with fibers running lengthwise through it. It sticks great and doesn't stretch allowing you to get it really tight with no movement. | 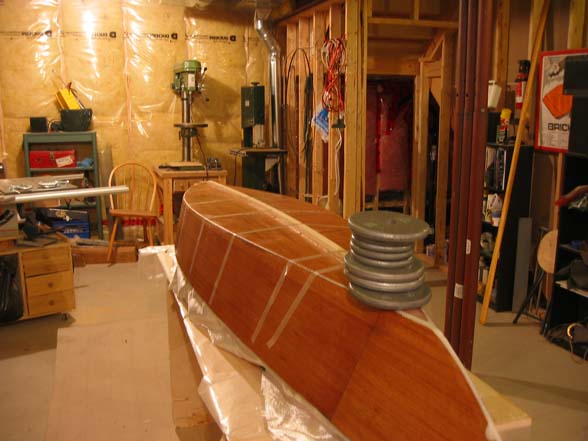 |
 | The next step was to trim off the extra cloth. To do this I flipped the boat upright again and set it in the forms. A sharp chisel did a nice job of trimming the cloth as the drippings had hardened the edge. Just make sure its very sharp and your hands are well away from the pointy end. |
Next, I flipped the boat back over and started sanding. A proper respirator is a must (a dust mask is not good enough). I also attached my orbital sander to my shop vac. Whenever possible, I sanded outside. | 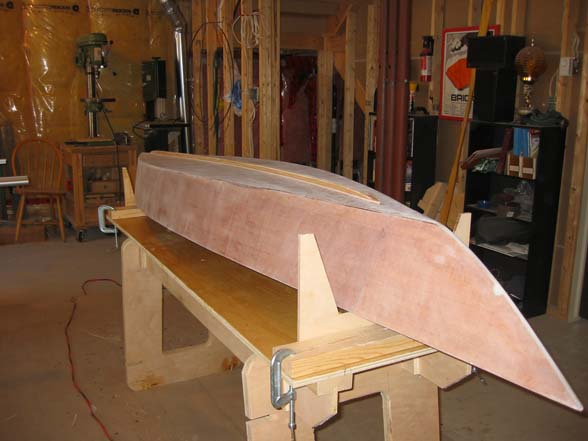 |
 | After sanding I wiped it down with a cloth and some paint thinner to get rid of the dust.
The result is a very smooth hull. |