With the hull pretty much together it was time to start work on the deck. I have to say that this part worried me a bit. The hull was always going to be painted, but I wanted the deck to be 'bright'. Any mistakes would show. I flipped the boat over and test fitted the deck. | 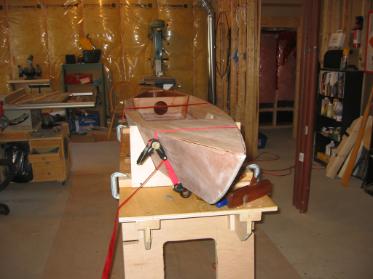 |
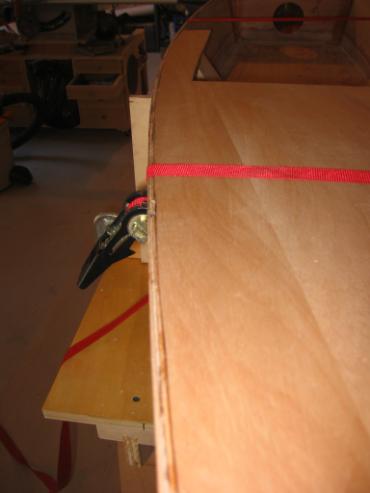 | The thin, 1/4" ply wouldn't sit flat and I was a bit worried about putting weights on while I was fiddling with things. I went back to Kayaks You Can Build and saw a picture using ratchet ties to hold down the deck. Best thing ever! Some adjustments with a plane and the front deck fits in nicely. |
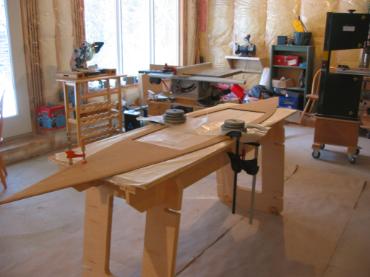
Another deviation from the plans. In order to fit all of the parts on as few sheets of ply as possible, Glen-L broke up the deck into small bits. Two large ones for the bow and stern and a bunch of small pieces around the combing. This was unacceptable for an unpainted deck, so I grabbed another piece of marine ply and laid out a new aft deck. No use being that cheap now. | 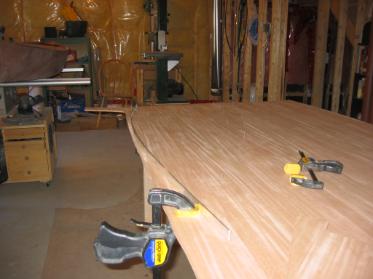 |
 | The result was a much cleaner deck with only one joint half way along the opening. That will get reinforced with a bit of epoxy and tape before the deck is mated to the hull. |
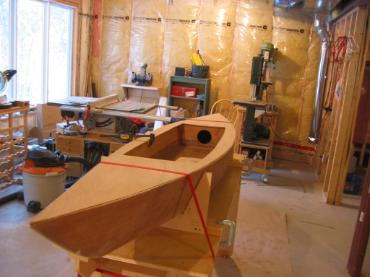
The 'client' was asking for an update, so I thought a test fitting was in order. Looks like the size is about right. At this point we started talking about the finish of the boat. Evan announced he wanted it 'blue on top'. Well, that was not what I was planning. I spent quite a bit of time on the fit of the deck and I didn't want it painted. | 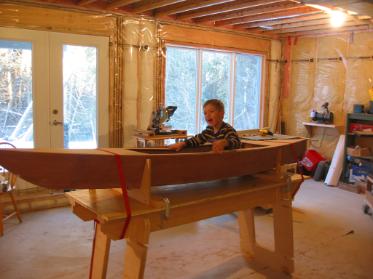 |
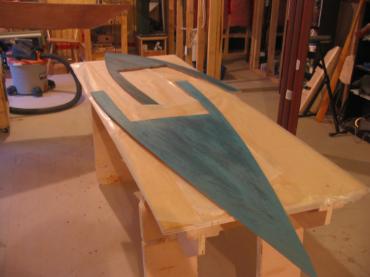 | We reached a compromise by dying the deck blue. This will still let the wood grain show through, but Evan will get his blue boat. Again following advice from Kayaks You Can Build I coated the stained deck with a thin coat of epoxy. That will keep it from getting scratched up as construction continues |
I cut a couple of butt blocks from scrap plywood to reinforce the deck joints. | 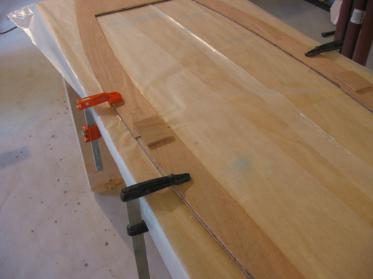 |
 | I made an epoxy/tape/block sandwich as I did with the hull sides. |