Odd Duck is a 14 foot pirogue type canoe based on the 'cheap canoe' plans from bateau.com. From what I can tell, the design is very close to the 'six hour canoe'.
Back in 2004, our family rented a cottage in New Brunswick for a summer holiday. It was a great place, located at the lower end of the Long Reach of the Saint John river. A friend of my father had promised the use of one of his canoes for a few days, but it unfortunately fell through.
When we got home I decided to get my own boat. Any halfway sane person would have just gone to Canadian Tire and picked up a cheap Coleman; but no, that would be too easy. I decided to build my own.
Odd Duck was my first attempt at boat building and taught me a lot. It was a rough piece of work, but it floated, and served me well for quite a few years.
Here I've laid out two sheets of ply and I've started to mark out the sides and bottom. The first thing I learned is that buying cheap materials will cost you later on. Rather than buying good, marine grade plywood, I picked up some exterior grade good one side plywood. It was less than half the price, but the amount of epoxy and sand paper that it took to fair it up cost much more. Besides that, the boat ended up much heavier than it should have. Being cheap always ends up costing more. | 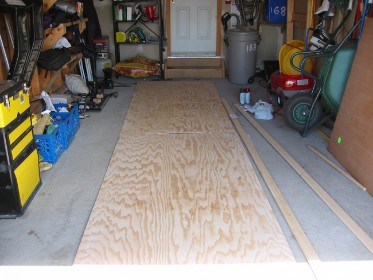 |
 | I tapped in some small finish nails along the points that I marked out. Then I used one of the gunnel boards as a batten and drew a smooth line for the sides and bottom. You can see that my work area is pretty limited. A single car garage doesn't leave much elbow room. Not to mention that I had to move a pile of stuff out every time I wanted to work. |
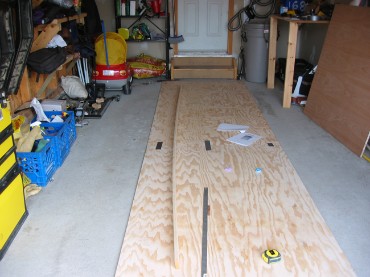
I started cutting out the hull by jigsawing out one piece of the sides. Since the boat is symmetrical front to back, I could use this a pattern for the other parts. The bottom was cut out of the same piece of ply | 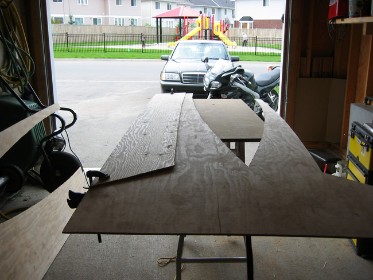 |
 | I mated the two parts of the bottom on a temporary workbench made of a folding ladder. Some minor adjustments with a block plane made sure things aligned properly. |
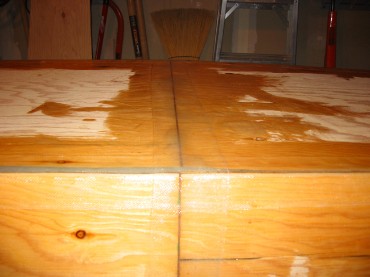
This boat doesn't have scarfed joints. It uses a very simple butt joint instead. The two halves are laid together and a piece of plywood is glued across them. Its not pretty, but it is effective. Here I have the sides on the workbench and the bottom on the floor. Some metal jack stands worked as weights. Waxed paper worked well to keep the panels from sticking to the work surfaces | 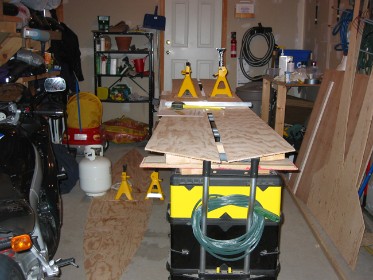 |
 | The next step was to put the hull together. I used some scrap wood as spacers to get the general shape. You may have noticed the bottom doesn't meet up with the stem. That's because I haven't attached the bottom yet. Its just serving as a spacer in this shot. |
This has got to be one of the crudest forms of boat building around. Duck tape servers as a both a temporary binder and a form for the thickened epoxy. The glue was made of two part epoxy with some thickening powder purchased at the epoxy supply shop. It was mixed to the consistency of thick peanut butter. Wood flour (fine, clean sawdust) may be cheaper, but I couldn't find it locally. | 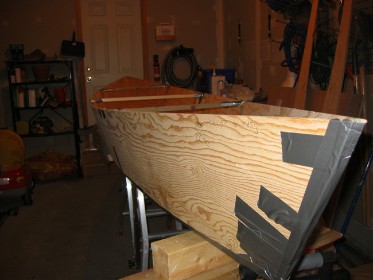 |
 | A fillet of thickened epoxy was added, followed by fiberglass tape. The tape was then whetted out with more epoxy - this time un-thickened. This was my first time working with epoxy and I was extremely careful with it. Rubber gloves and goggles are a must. I hadn't yet figured out how to work neatly with it, so I ended up making a bit of a mess. Well, sanding can always help that. |
Once the inside was dried, the tape can be removed. I then flipped over the boat and taped the outside. One other thing to mention about working with epoxy for the first time: it gets on everything. If you don't want it covered in epoxy, get it out of the workshop. | 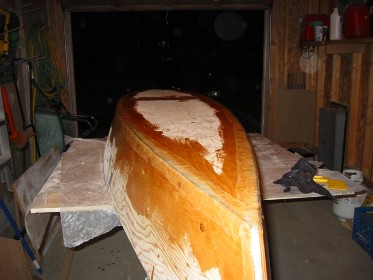 |
 | The center seams were also reinforced with tape and epoxy on the outside. |
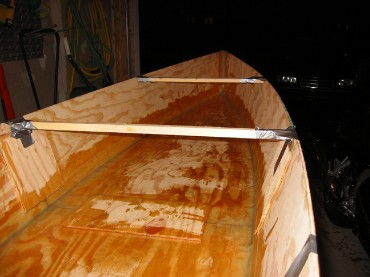
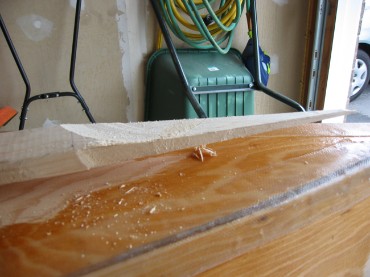
Next, the gunnels are added. These strips are necessary to hold the boat's shape, provide stiffness and give you something to hold on to. I couldn't find fir or pine long enough at the lumber store, let alone clear (knot free) wood. | 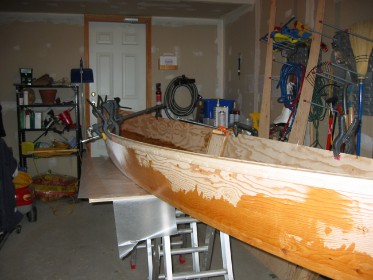 |
 | I tried scarfing the boards together, but I ended up making a bit of a mess of it as the scarfs were no where near long enough. I ended up clamping them as tightly as possible and then fairing the curve with a block plane. It wouldn't work on a larger boat, bit its fine here. |
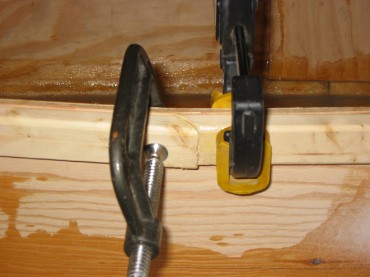
The gunnels were glued with thickened epoxy and screwed to the hull. I discovered when it comes to gunnel assembly, you can't have enough clamps. I tried making temporary ones out of PVC pipe as per the CLC website. They weren't particularly effective, but they did get the job done. |  |
 | I used a circular saw to rough cut the keel board. I cleaned it up with a block plane and glued it to the hull. Screws held it in place until the thickened epoxy glue cured. |
As with any project, management needs to inspect the work.
| 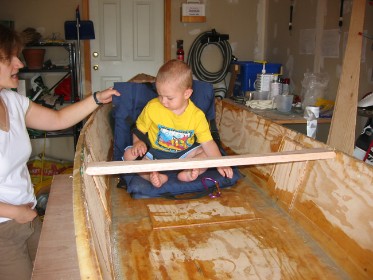 |
 | I cut out a couple of breasthooks made from some scrap oak. These were glued in with thickened epoxy. This shot was taken at an odd angle and it looks quite lumpy. It really was not that bad. |
I also made a thwart and seat frame out of the oak. The seat is made using half lapped joints reinforced with pegs. I drilled holes around the outside for adding the lacing later. The seat is well forward (or aft depending on your point of view). It will be used by my son when we go out together (I'll sit on the bottom). When I'm solo I'll turn the boat about and use the seat myself. |  |
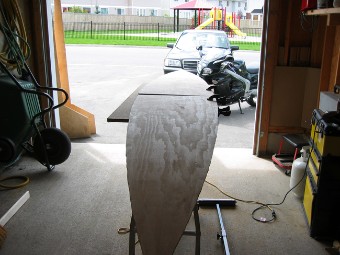
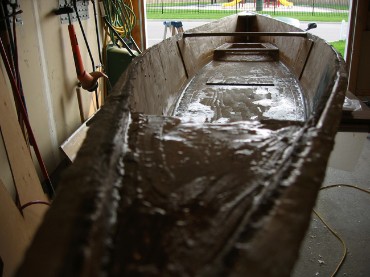
 | Now that the construction is more or less complete, the inside was coated with unthickened epoxy. The inside was sanded, sanded and sanded again. A second coat of epoxy was added and then it was time for more sanding. I learned to be very careful when using an orbital sander. If you are not, then you can easily burn through the epoxy into the wood. |
The boat was then flipped over and the procedure was repeated on the other side. This shot was taken between coats, before the sanding. A good quality sander is also a requirement. The cheap ones just won't hold up to the amount of effort and epoxy dust. And please - always wear a proper dust mask. | 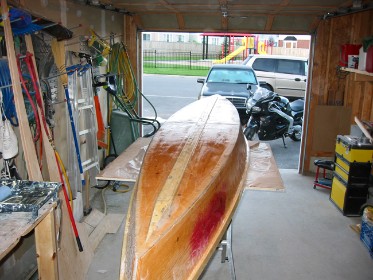 |
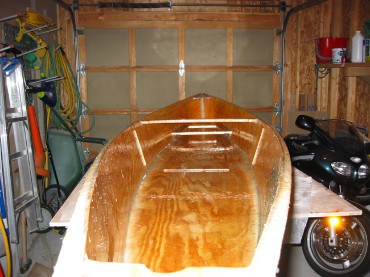
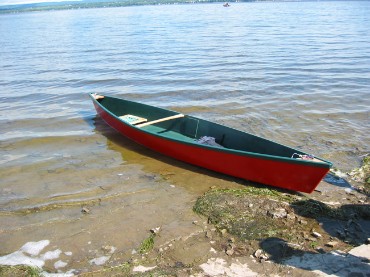
 | I pulled the boat outside for the paint job. The lower hull and bright work was masked off and I gave it a few coats of hunter green Krylon. I used Krylon because it is meant for plastic, its water proof and its cheap. This boat was meant for utility use, so expensive paint wasn't necessary. |
The outside of the hull was painted in a similar way with bright red paint. I chose the colors because green should not show dirt or scratches much. The red was to make the boat more visible. The oak was simply coated with some exterior grade Varathane. | 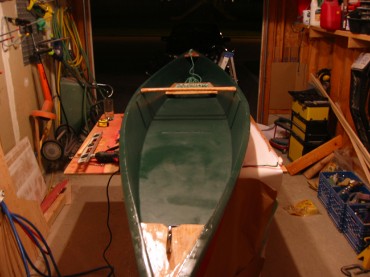 |
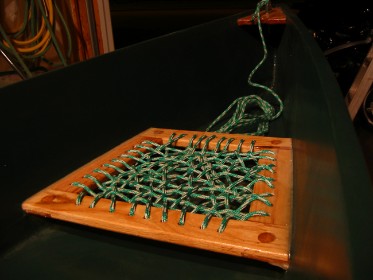 | Here you can see the finished seat. The webbing was made of some nylon line that I picked up from the hardware store. It was woven from a pattern I found on line. It got a bit crowed at the back because of the shape of the frame, but it is surprisingly comfortable. A couple of stainless steel fittings in the breasthooks gave me something to tie a painter to. |
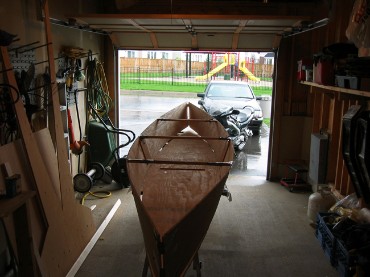
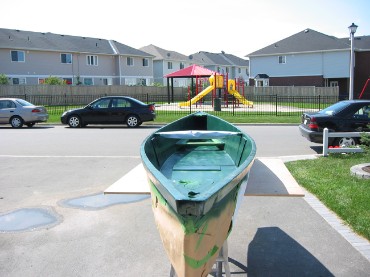
Here's the dry launch. Management and I spent quite a bit of time navigating the back yard that afternoon. Its hard to make much progress though, especially when he's paddling the wrong way! The following shots are from the official launch day at Shirley's Bay on the Ottawa. | 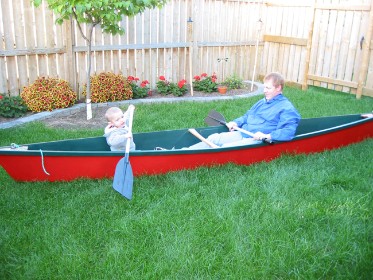 |
  | 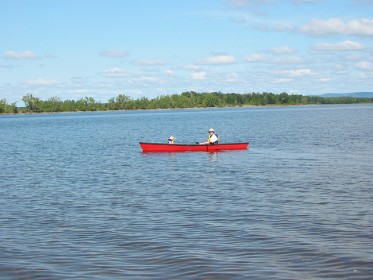 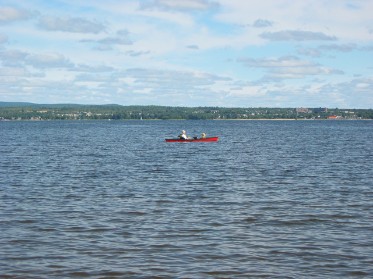 |
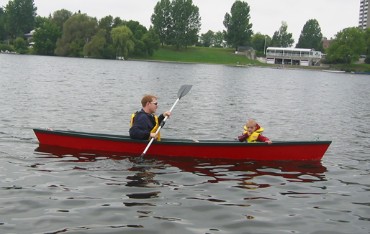 | Odd Duck was a pretty humble boat, but it took Evan and I all over the Ottawa valley, including the Rideau, Mississippi and Madawaska rivers. The flat bottom and slab sides made her very twitchy, however; especially with an active 3 year old in the bow. In a few years, Evan wanted his own boat and I was looking for something a bit different to use for fishing trips. Eventually I gave her to a friend to make room for the next boats. |