Piranha is a Glen-L Kidyak. Its a 9 foot, flat bottomed, stitch and glue kayak.
A couple of years after the Odd Duck was launched my son decided he was big enough to get his own boat. At the time he was four, so there was no way he would be able to paddle far by himself. We looked into buying a small boat that I could tow behind the Odd Duck (and later my Pungo). I wasn't satisfied with the short "cottage kayaks" on the market, so I decided to build one myself that winter.
This project was entirely different from the Odd Duck. I had a much larger workshop (having moved into a new house the year before). The shop was also heated (in the basement instead of a the garage), better lit - and not full of garage stuff!
The other thing that helped was reading Kayaks You Can Build. The book focuses on building stitch and glue kayaks from a kit, but the tips and tricks in it make any plywood boat construction much more enjoyable. Things like using masking tape on the seams, methods for glassing the hull, dying the deck and others really were helpful. I can't recommend this book enough.
The fist step was to have a good, solid base for construction. I had an issue of Wood magazine that had a really useful knock down workbench. With a solid 3/4 inch plywood top it proved to be a great strongback. The ability to be set at two different heights also came in handy. I still use the bench as a portable work surface so the extra construction time was well worth it. | 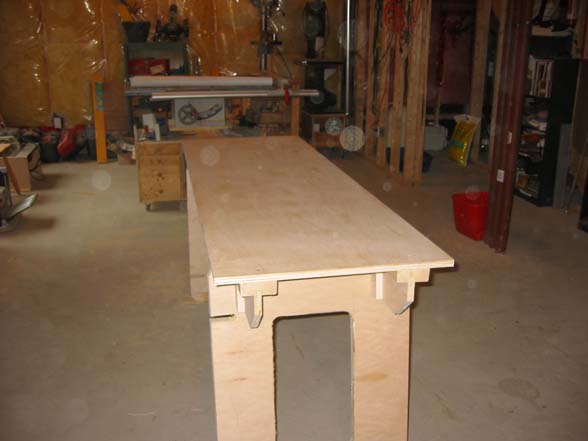 |
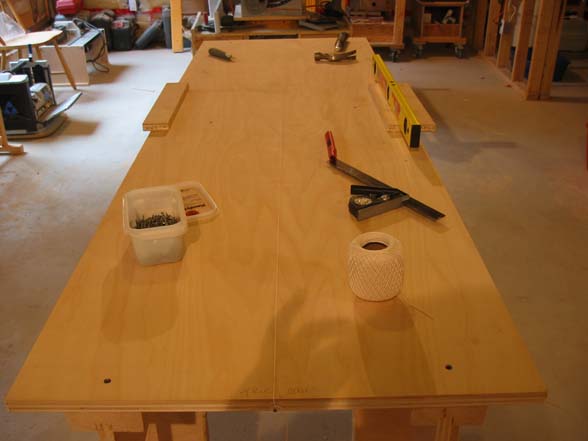 | I leveled the bench so I could measure the hull later on. I also drew center lines and a one foot grid to take measurements form. I was very careful to make sure all the lines were strait and square before starting. Finally I varnished the entire thing with two coats of poly and gave it a good coat of bees wax. This was to keep the epoxy from sticking to the bench. |
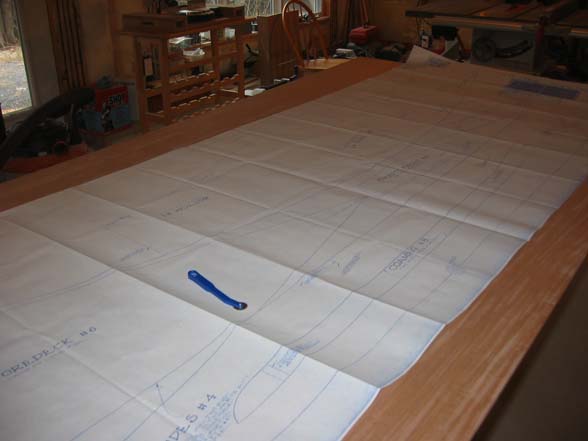
The next step was to cut out the panels. Glen-L suggests that you can make the boat from one sheet of 1/8" door skin plywood. I choose 1/4" marine grade mahogany, which will be stronger and will look nicer. I found that using a dress makers wheel did a great job of transferring the plans to the plywood. By tracing the plans with the wheel, you get a tracing of hundreds of little indentions. Going over this with a pencil makes it easy to see later.
|  |
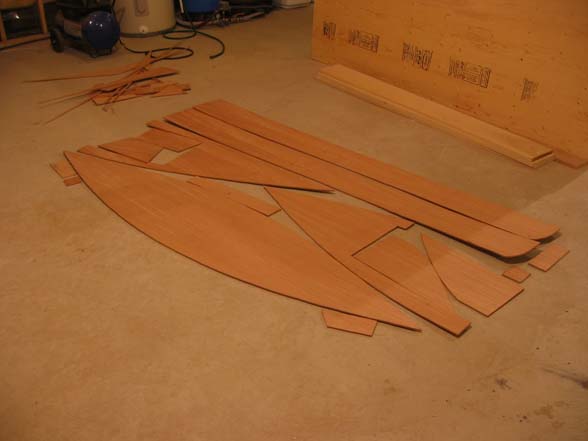 | The panels are easily cut out with a jig saw, cutting outside the lines to leave some adjustment room. I tried cutting it out of one panel, but that makes the deck into a bunch of small pieces. You can see that on the deck piece on the right of this image. This would be okay if the deck was painted, but I wanted to show off the wood. Using a second sheet of plywood would give me a cleaner, two piece deck. |
The plans use the bulkheads as frames around which the sides are bent. I used a hand plane to smooth out the jig saw cuts for a tight fit later on. | 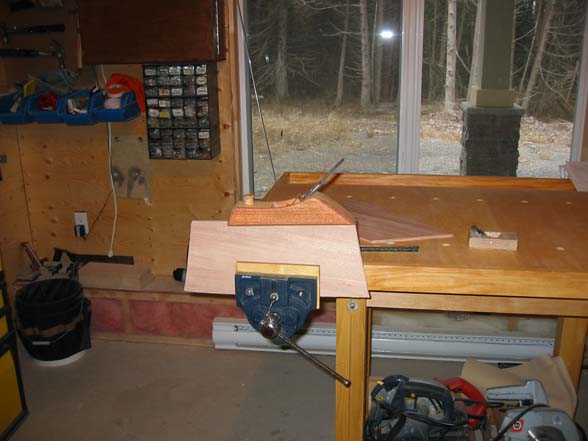 |
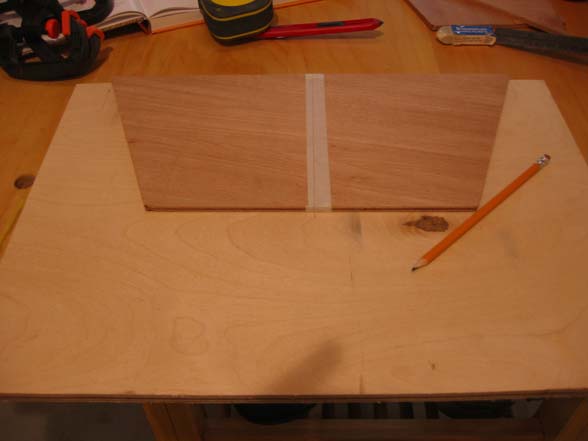 | I used masking tape and then drew a center line on each bulkhead. This will make alignment much easier when it comes to assembly. I also took a couple of pieces of half inch scrap ply and traced the bulkhead shapes onto them. Then I added a bit more than 1/4 inches around that and cut them out. These will serve as cradles to support the boat later on. |
Here I clamped the cradles to the strongback where the bulkheads will go. Then the test pilot did a test fit. Looks like there will be plenty of room. | 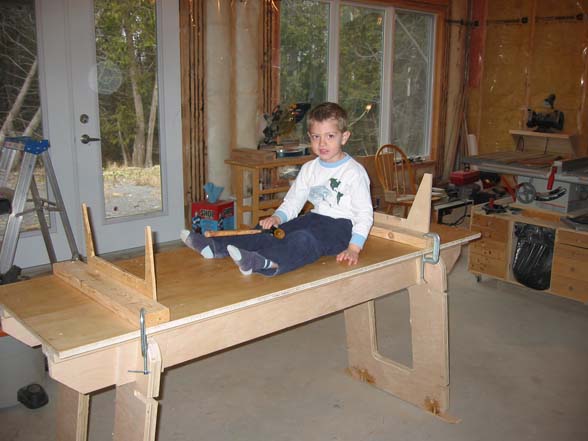 |
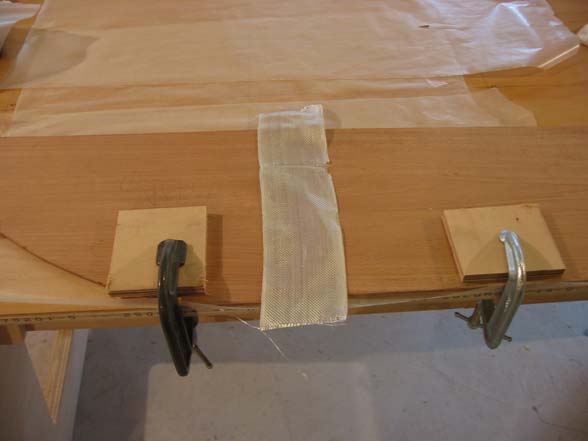
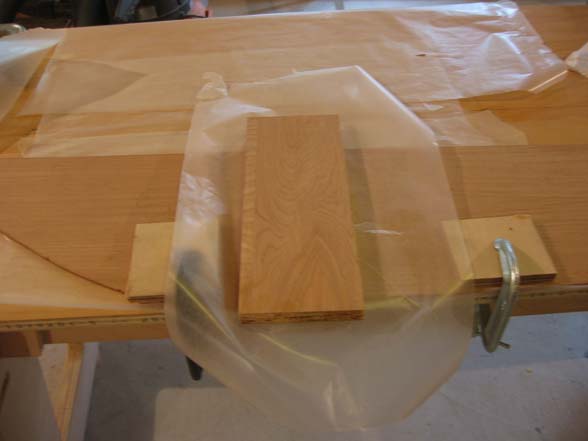
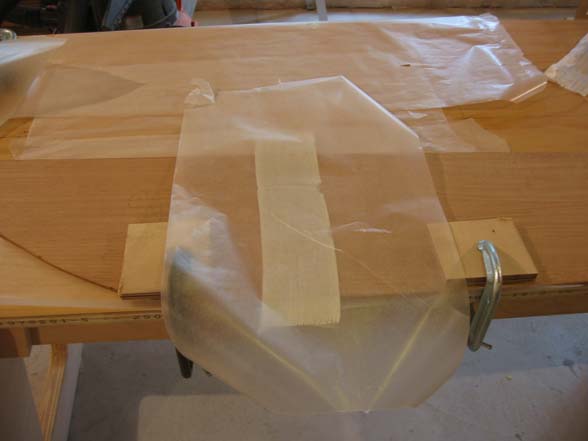
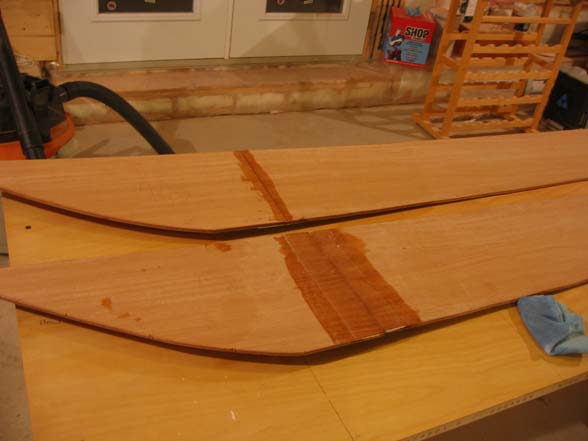
The plans called for a butt block to attach the side panels. Having done this in Odd Duck I knew it would work, but it would also make a flat spot in a hull with this tight a curve. Since this boat has a deck I figured the butt block was unnecessary. Instead I decided to bind it with fiberglass tape and epoxy. Once its all together, the monocoque shape will keep everything together. The next few shots show the joint going together as a dry fit. I repeated this with epoxy after I was sure it would work. | 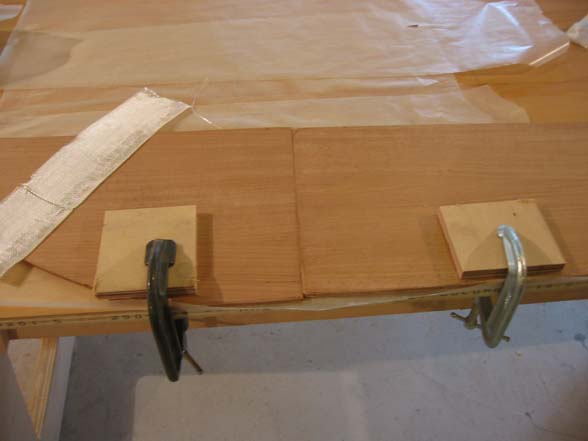 |
  |   |
Having learned from the Odd Duck's construction, I wanted to make sure the epoxy work was much neater and done more carefully. I set up a small workbench that I dedicated to mixing the epoxy. This was to keep the messy stuff from being too near the boat (or my wood working tools) | 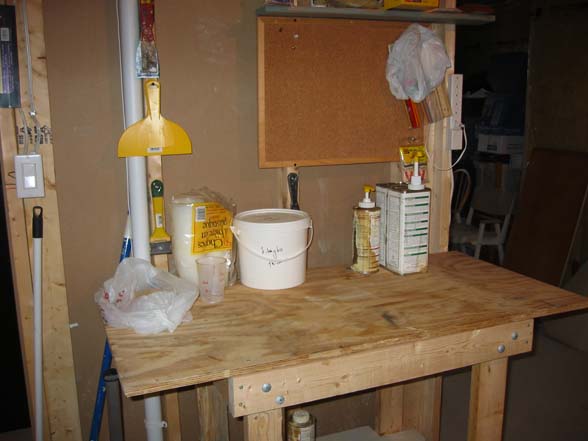 |
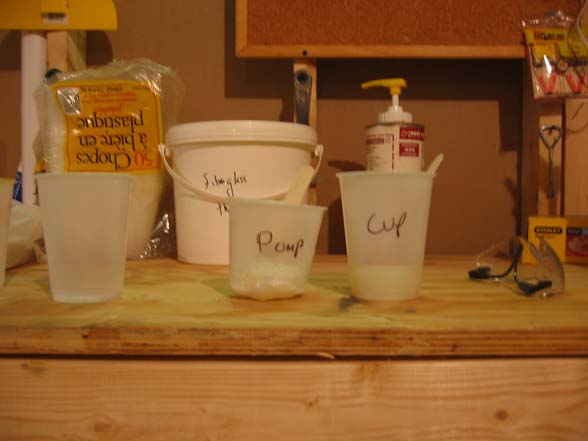 | When I built the Odd Duck, I measured the epoxy and hardener using a measuring cup. It worked, but I was never sure that I had the perfect measurements. This time I sprang for the proper measured pumps. Epoxy generates heat when it "kicks", the better it is mixed the more heat it generates. You can see the difference in the pump vs the measuring cup in the amount of heat generated when it melted the plastic cup. Yup, the pump works better. |
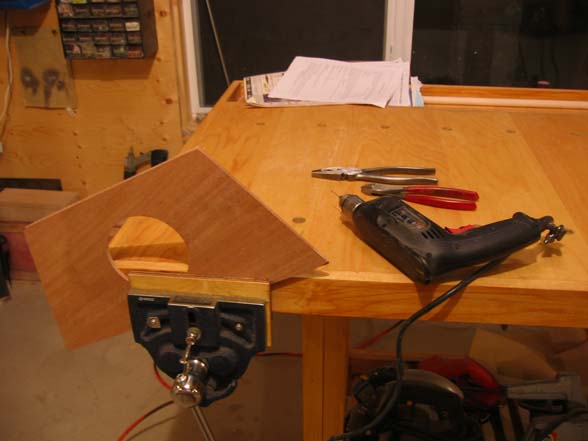
The plans state solid bulkheads with a small breather hole. I picked up a couple of screw in style hatches at the local boat shop. These will allow inspection of the air chambers as well as giving a little bit of storage for some lunch. | 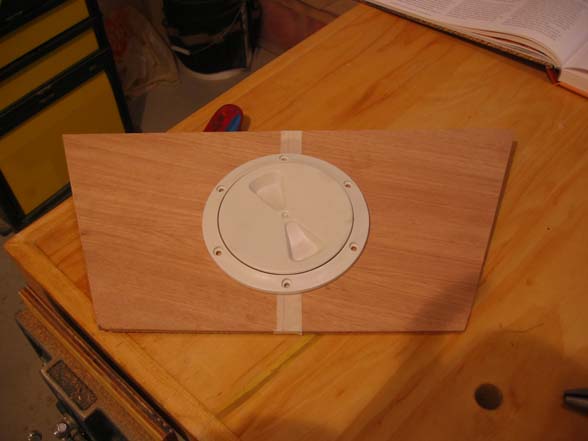 |
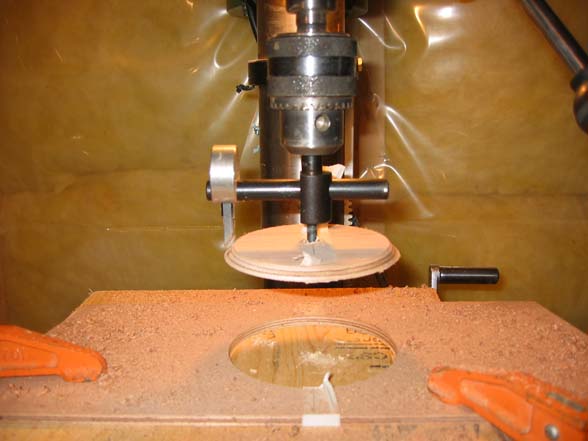 | A circle cutter on the drill press cuts the hatch holes neatly and quickly. Just keep your hands well away from the cutting blade! |
Next, I cleaned up the bottom with a hand plane to get rid of the saw marks. I used a small rounding plane to round over the edges of the bottom. This will give a bit of room for the epoxy glue to fit between the sides and bottom when I put the hull together. | 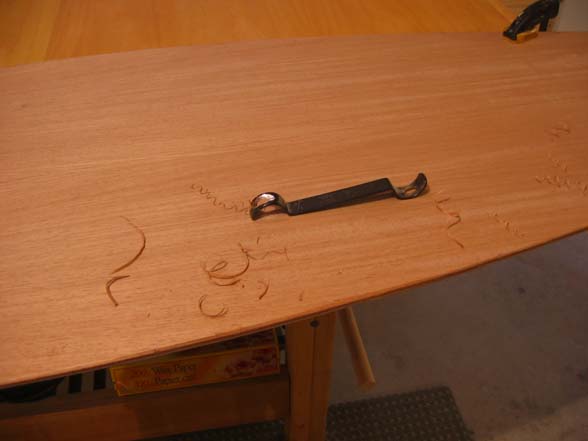 |
 | I use the drill to make holes for the stitching in the bulkheads and the bottom. Careful measurement is necessary to make sure everything lines up properly. |
Here I've wired in the bulkheads to see the fit. The stainless steel wire started to use was too thick and was very hard to work with. I quickly determined that a thinner gauge copper wire was much more useful. | 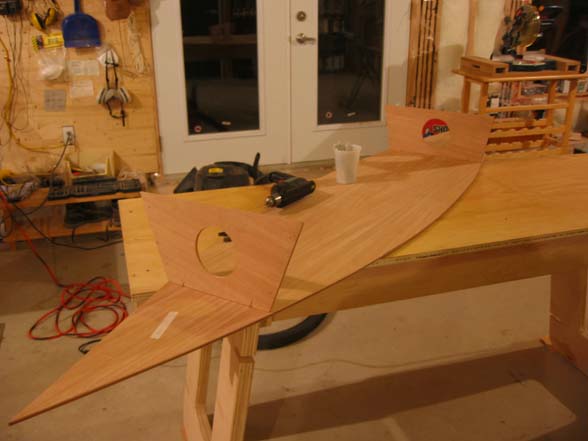 |